In the past I've had others
make garden beds for me. Or I've used an
existing community garden bed. But now that I have
- More room
- More time
- My own space, with no one (such as an HOA) telling me how it should look
- Secret weapons (scrap materials, kind neighbors, helpful family members, leftovers from other projects)
... well, all those things made it easier for my family to do it on our own.
I'm proud of anyone who takes on the task of growing their own food, no matter how it is accomplished. Of course, I think it's important to challenge yourself, but you've also got to be realistic about your capabilities and use what you have! That could mean searching your attic or shed for materials, hitting up neighbors for help or scrap materials, or even asking a handy friend to build your garden for you, if that's what it takes.
The process (which took more than a week):

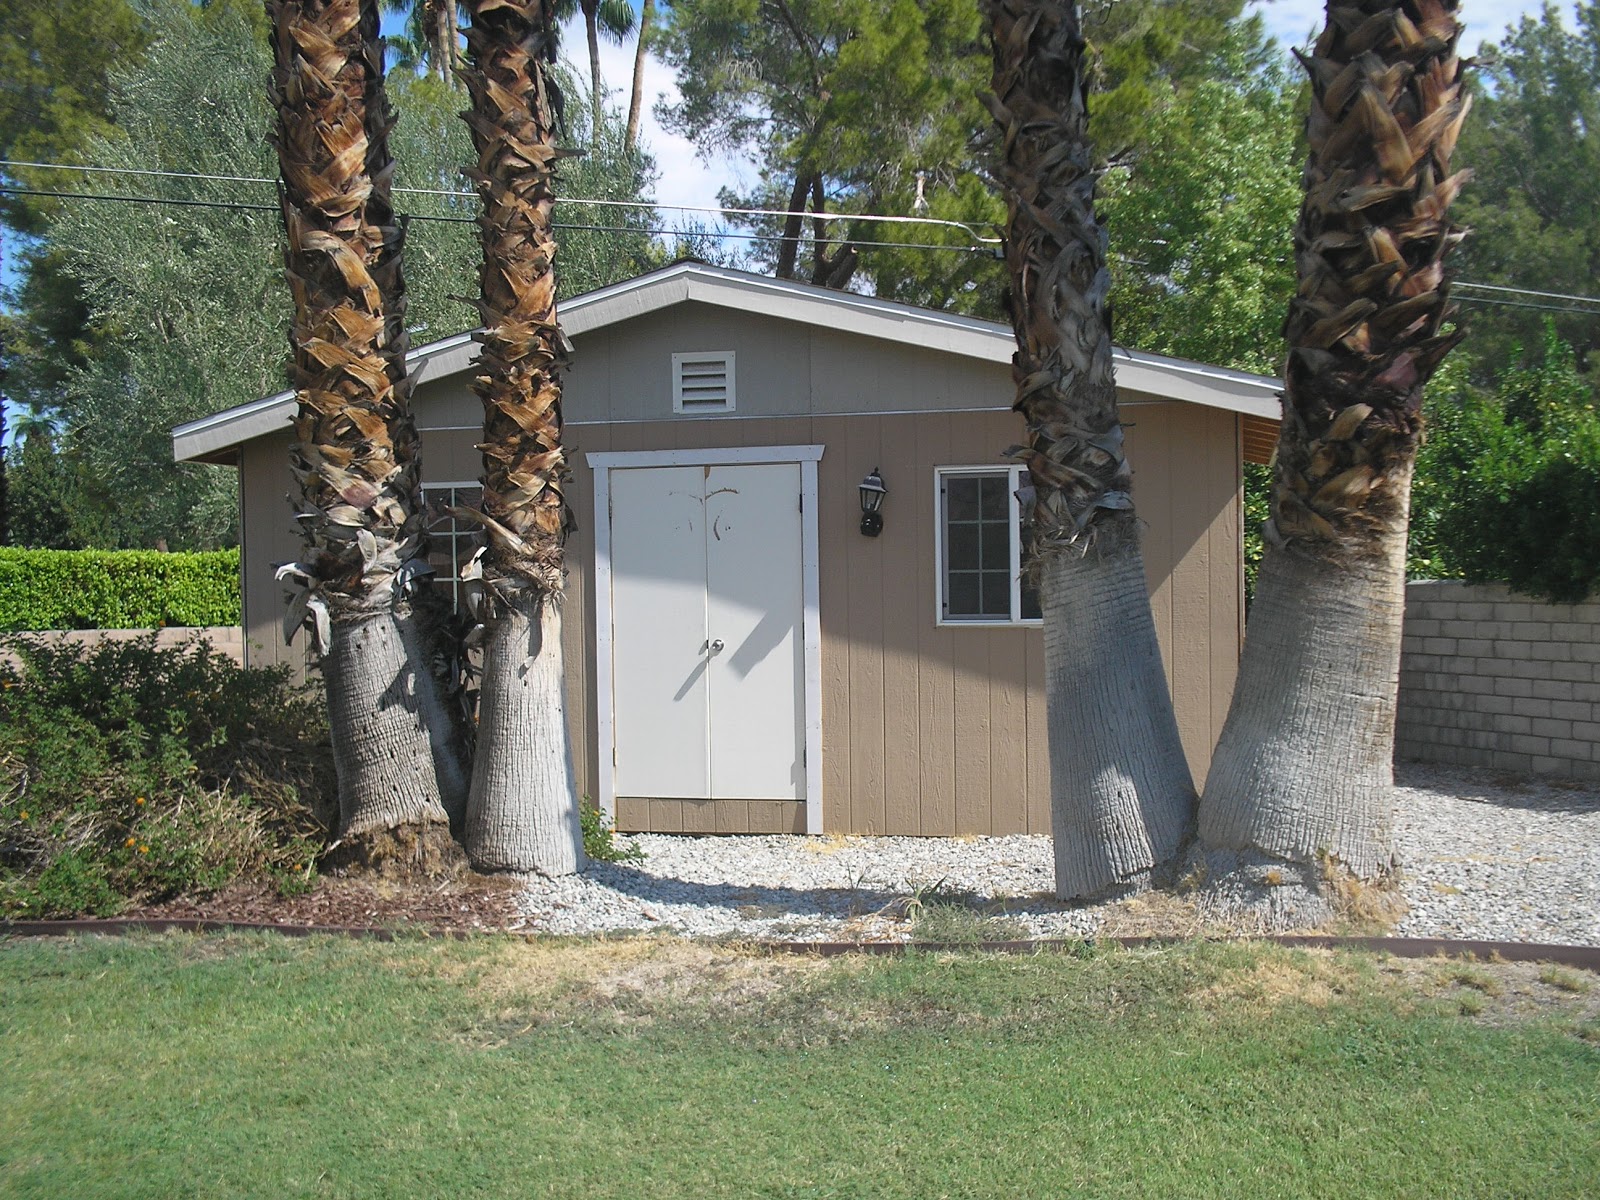
What's that? A shed? Let's check out what's inside.
Look at all these construction materials the former owners left in here! What can we use to make a raised bed? There are unused fence posts, drywall, untreated 2-by-4s, bricks, cement, tiles, paint buckets, a mirror ...
I think I know what we'll use.
Now, I need to choose where we want to place the bed.
A nice sunny spot near the house. Sounds great! Only problem is that I have to dig up about 4 inches of pebbly cover material before reaching the soil.
So I scrape it off, then double-dig about 4 inches lower to till up the sandy soil underneath.
I carry a bunch of the 2-by-4s over to my neighbors', and he uses his table saw to cut them into the pieces for my keyhole design. Then I take them back and drill them together with galvanized screws ($8.50 a box).
I am not handy. This drilling takes a long time. And it probably is not done "correctly."

Good thing my main man is working on the sprinklers out front and we have a bunch of extra soil. I need that soil for the garden!
We truck all the soil back in a wheelbarrow. Now I'm mixing all the sandy desert soil from the front yard with mulch and other good stuff.
My 2-year-old and 4-year-old help me carry the 12-by-6 frame over. We set it on the hard gravel material, then start filling it up with soil. Note the bricks from the shed, used in the keyhole! A soaker hose left over from last year's community garden bed is installed an inch underneath the topsoil.
The finished bed is ready for planting. I'll let it settle for a few days.
Total cost: about $25 for the box of nails and the soil amendments. The rest of the materials were on site.
Let's see if we can get anything to grow in here!
 What's that? A shed? Let's check out what's inside.


 Good thing my main man is working on the sprinklers out front and we have a bunch of extra soil. I need that soil for the garden!


Awesome! That looked like quite a challenge scraping all those pebbles off. Good thing you had some little 'helpers'! :) (My kids are the same age!) I'm impressed it took only a little over a week!
ReplyDeleteThat's wonderful you could get salvaged material for the beds. I've been collecting rocks from nearby construction sites all summer to make a rock lined raised bed - hopefully by this winter I'll be able to construct it. It's impressive to see what you can do for little money.
Hope you get lots growing in your new bed!
Thanks! It took a bit longer if you include all the time spent thinking about it this summer! And I still get to plant today. (The kids loved playing in the dirt mountain, dubbed "Kid Everest.")
ReplyDeleteMy first thought was to use empty wine bottles as the border, but I couldn't get enough in time (and it did seem a bit impractical). I'll use the ones I'm getting to make a smaller herb garden bed.
Rocks for a border sounds beautiful. Can't wait to see that project!
Wow - I can't believe they left all that useful stuff behind! And how wonderful that you could use it. Love your design. I know that must have been a lot of work. But it will be worth it!
ReplyDeleteHolley, Thanks!
ReplyDeleteI know, right? We're very lucky they left so much. I'm percolating ideas for using that mirror somewhere in the garden ...
Great project!
ReplyDeleteI'm just becoming familiar with your area after a couple driving trips.
Shall look forward to your posts.
Glad to have found you on Blotanical,
cheers,
Alice
Hi Alice,
ReplyDeleteThanks for visiting my blog!
Next time you are down this way, you must check out The Living Desert Zoo and Gardens. http://www.livingdesert.org/
It's got fabulous collections of flora and fauna from deserts all over the world. You'd get some more amazing pictures!